Saturday, January 25, 2014

DIY No Sew Shrug

Good morning, or is it afternoon, to you all.  Here is the no sew shrug I promised.  I have three examples and a couple of ways to construct it-one will make more sense to you.  Feel free to experiment with different fabrics and cuts and post what you came up with-I would love to see them.

You will need scissors and start with your least favorite shirt for your first one in case you do not quite like it.  I have cut many of these for myself and friends and it is a creative process with new ideas and modifications but I will just show you the basic cuts.

You can wear this over spaghetti straps, tanks, even long and three-quarter sleeves as an accessory.  I like them here in Minnesota in any season but the summer to wear as a layer of warmth.  But this shrug expands my wardrobe allowing me to wear cooler styles in the off seasons and it is a layer over, not under, so if I get warm, I can peel it off.

Tutorial:


Here is one way to cut the shrug using the cuts as patterns to cut around.  This was a turtleneck that I could die but simply turned it inside out (I like to break the rules) prior to tying.  It is also an example of a looser shrug-I like them tight too, but that is just me.
 Lay shirt out with the back side up and cut up the center from the bottom.  I cut just to the collar because I may use the collar for something else later (I keep bags of scraps and create applique collages-later on that).
 Do the same for the front and then cut your neckline to the shoulder seam.  I cut lower in the front.
 I eye the other side and cut wabi-sabi (perfection in the imperfection). After the front and back are cut, meet up with your other cut even if you have to cut off a bit of material so it matches. The cut matched up in the middle between the sleeve and collar seam but you experiment what you want-closer to the collar seam if you don't want to have option of wearing off shoulders or if you want more coverage than the photo.
 Should look like this.  Now do back first so you should have it with the back side on top facing you.
 I like the ends I tie to be a bit wider so when you make first cut curve in as you cut and decide how far in you want the openings.  They can be wider or narrower than I have them.  Once you have made one cut, flip the scrap and match it about where you cut on the other side (it will be the wrong side of material up because it is a mirror of the other side).
 Do this (using the same piece as pattern) all the way down on each side of front until you have 3 cut on each side (total of 6).  Then but the bottom off to the side seam.
 Now start on front using the same pattern as back or creating a new pattern on the front and working your way down eyeing placement so its sort of symmetrical.  I opened up the shirt and you can not see the back here so I do not cut through what I have already done.  Only the front is showing.
 Again, the pattern will be the wrong side when you place it across from cut to complete cut on other side.
Complete cuts on both sides.  Over half way done with my shrug and it is taking minutes!

 On the front I cut 3 on each side on the back (total of 6) but decided to cut one off so it would be shorter-your call.  Now we are ready to cut the bottom portion off.  You can decide how you want it to fit.  I like it just under bust and longer in the back.  Another example later shows it to the waist.
 Cut downward to the back cut and match up.
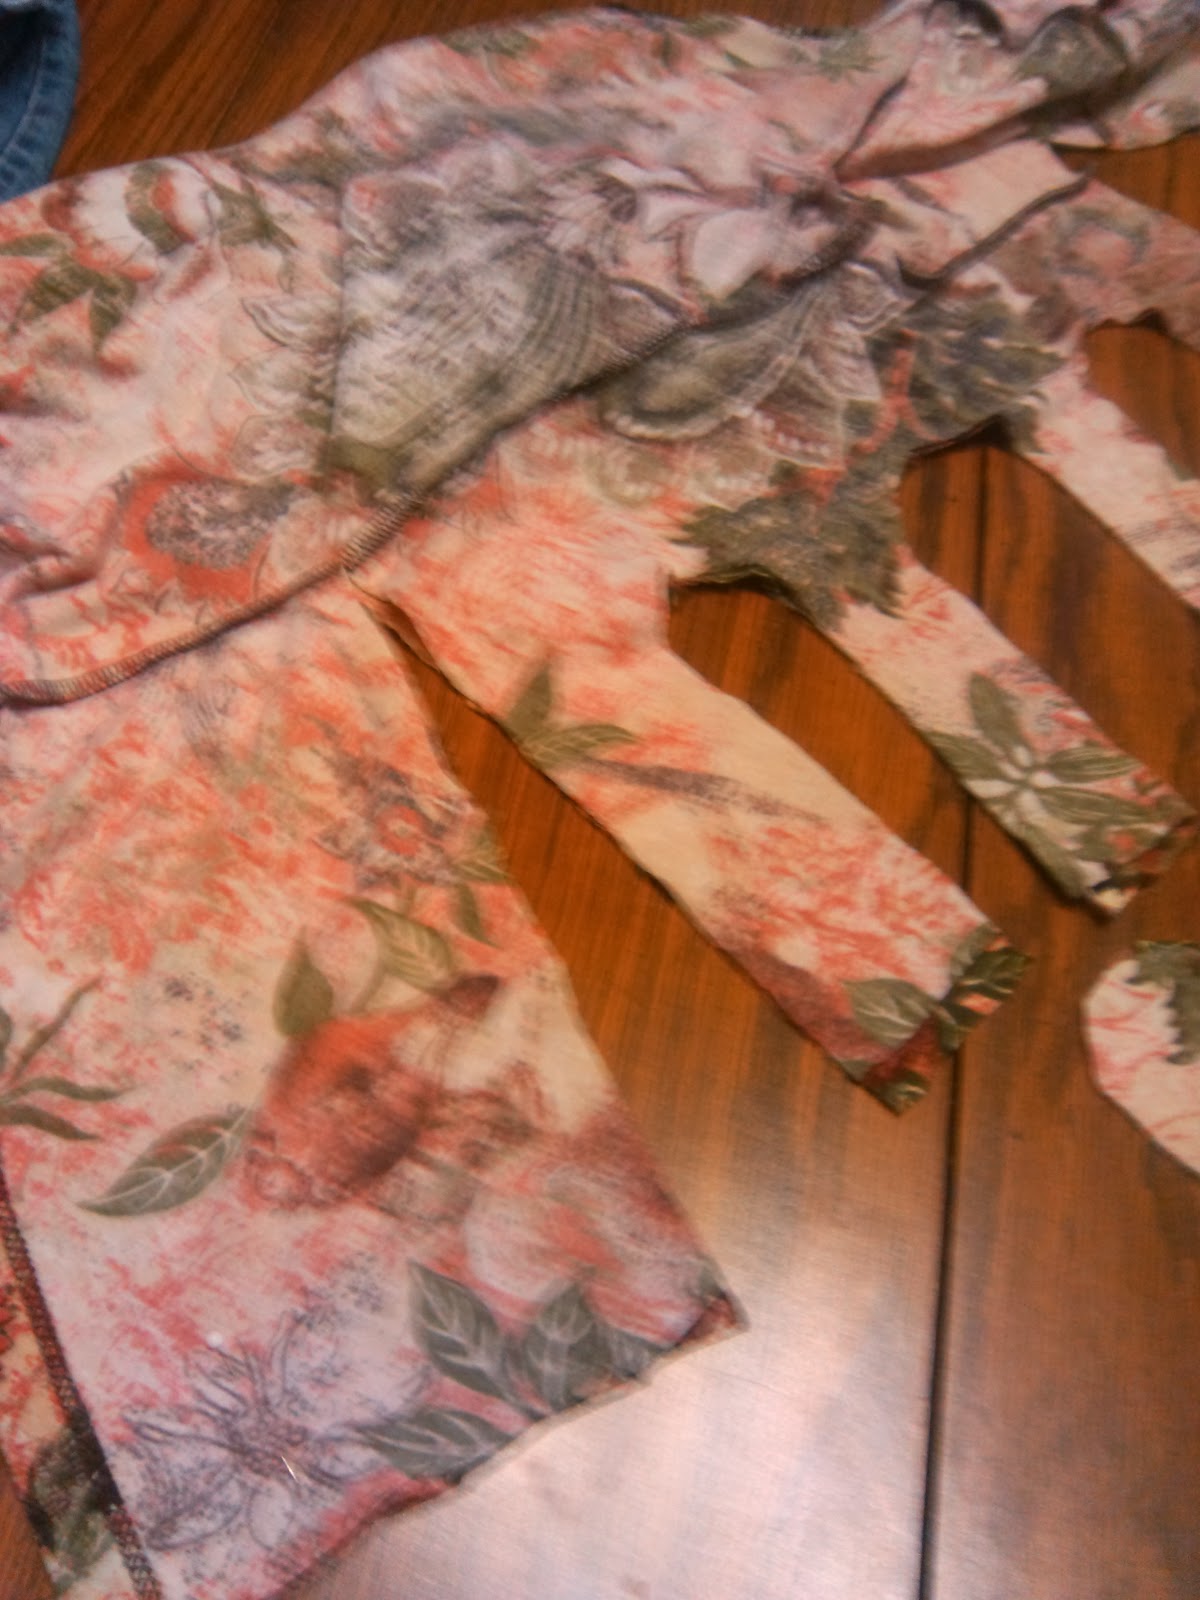
 Here is the other side cutting off the lower portion from the front to the back.  This pic shows how I decided to cut off the bottom two of my 6 cuts leaving me with only 2 on each side (I don't like the front higher than the back).
 Now tie the front and back together loosely from top to bottom, you can adjust the ties later to fit you when you try it on-I can do it myself in a mirror for the back.
Here is the finished product!  I turned this inside out before I tied it because I wanted the seams to show and the inside was a dull color.  I might show it dyed later, you never know.  You can always dye anything that is dull-100% cotton works best and I will share dying later-I was lazy today so I could show you a few examples.

Way 2 to make No Sew Shrug:

Here is the finished product of the shrug.  I cut through seam at shoulder because I wanted to show off my butterfly tatoo.  I have it over another upcycle project of marrying a skirt and tank top that I appliqued over the skirt in the front.

 Lay out shirt and smooth out cut the front up the middle through the collar both front and back.
 Should look like this.  Now pin the front two sides together at the edge of your cut.
 Cut off the front around collar and begin your cuts.  I made three-cutting through both sides, make sure you pin well so they match.
 Should look like this!  Save your scraps for another day-it is fun to have lots of scraps in same color pallets for later.  I use bags I can see through.
 Now cut bottom to the side seam.
 Now pin the back and do the same-make sure you pull sleeves out of the way so you don't accidentally cut them.

 Now cut to meet the other side.
 Time to tie.  If you have pattern side I pinch wrong sides together so pattern is up for tying.

 Tie all the way down the front and back-again-you can adjust when trying on.

 Should look like this!
 Your done in minutes-easy right.  I show it here with a 20 minute skinny I made over a spaghetti strap cami.  Now I can wear that cami in the winter.


Here is another one I made in a much too small t-shirt I got for 25 cents at a garage sale in the summer.  Cute right!
Enjoy experimenting and taking a break from your sewing machine.  You could make cuts around shoulder to expose the shoulder or cut away material all the way down the sleeve to expose your arm, tying at the sleeve.  I have also cut out patterns on the sleeve like circles and squares.  You can use short sleeve t-shirts if you live somewhere warmer or when the snow melts.  Have fun and talk to you later.

Friday, January 24, 2014

Etsy shop is up and it is under Colleen Brobeck on your search where I have upcycled garments and accessories.  I am loading over 100 items this weekend so it may take a few days-check back in!  You can reach me at Colleen Brobeck for Facebook personal page and Colleen Hogan Brobeck for business Facebook.  I also have another blog-very informal-and open to your passions for posting and to express myself away from the focus of my upcycling, which is a big part of my life, but I do have other interests.  I am a writer and multi-media artist as well as passionate about many things, are you?  Come visit then at www.magicalthreadsandstiches1@blogspot.com but if you do search on blogspot I had to put magical threads and stiches 1 and it came up.  It is associated with my business by email only but I will have links to both eventually.

I wanted to tell you how much I appreciate you and that I would like you to follow me and comment if you find my posts useful.  If you can send a picture of your upcycle too that would be great.  I will also be running a campaign or contest for a garment of your choice free for winner of pintrest post on my other blog about art, poetry-your own please, or upcycling.  You can vote once and enter as many times as you wish-details coming soon when I get it set up--how much fun, right!

Finally, I hope you are living in the present and unwrapping it because it is the only day in your life like this one.  No matter what is going on in your life you can still have a good day because you should celebrate how fabulous you really are.  If you do not think so who's going to-right!  So do something great for yourself today or tomorrow-something you really like or brings you joy.  I love upcycling and sharing with you, watching a good movie, reading a book, creating something I have been thinking about.

Thursday, January 23, 2014

Upcycle Sexy Denim Skirt

SEXY

Side view check out the rear-right!

Hey friends, I am delivering promise, here it is: A denim skirt from Silver jeans I bought at thrift store into a SEXY ruched denim skirt.  You can wear with leggings, bare legged when or where it is warmer (it is not in Minnesota right now so I will wear mine with tights or leggings and boots.  The jeans were too low cut for my liking and the legs ended in too large of a bell for my taste but Silver, how could I not use them for something I will wear quite a lot.

You can make this skirt any length you want but I did a hi low (slightly), tattered the bottom and front, and put inset in front for posterity but you could easily leave out the insert if you are more daring.  The pictures show how your rear end looks great hugged by the rushing detail. Takes a little time but worth it.

Sexy upcycled denim skirt:


Rear view

Front view

Here we go!!
Lay jeans out on table and smooth out.  Cut along entire inseam, through crotch leaving about 1/4 inch to fray.  You are looking at the leg to the right front side.


This is what it should look like when done.
Now cut up back inseam leaving just a little denim.

My cat Star decided she wanted to be part of the fun.  Start pinning from the bottom, overlapping the material from back easing it as you go up.  You may need to re-position pins as you want it to lay fairly flat going up.

As you move up overlap where you cut the seam in the rear.  Really does not matter which side you cut.

Almost there keep pinning!

Should look like this when done.


Now you need to decide the length.  If you want exaggerated hi lo you have to exaggerate because you are going to take up the rear in ruching which will affect the length.  Now cut from split across to the leg seam.

Now cut other side of back to the seam.


Now go flip to the front and cut from your line through seam and curve upward to the end and through front on each side.


Should look like this.


Now cut along the seam (leave a little room) just below the zipper and pin the same way you did the back overlapping so it is flat.


Now try on and remember we are doing major work on rear end.  You are just making sure it fits the way you want it to and that things can be sewn flat.


Now sew the back first sewing a straight seam just inside the edge. Sew down so you can flatten as you go.  When at the end leave needle in and work stitch along the cut with a zig zag so it stays flat.  I remove pins as I go and put in pin cushion to my right-good habit and less work.


Zig Zag back up so it lays flat.


Now fray the ends by pulling toward the seam that will fray with your fingers.  You can trim if you need to but I did not do much trimming around the bottom of the skirt.


Now fray the inside front of slit in skirt.  You will have to pull threads towards where they come from to fray (usually to the bottom on one side and the top on another). Work all threads to the seam as much as you can.


I trimmed these strings and it looked like this.


Now you are going to start at top and pin tucks that we will sew down.  There are a lot of pins and you have to remove them as you go.  We will sew zig zag stitch close to the fold of material and then leaving needle in and switching to zig zag stitch we will go along the edge of material or just inside the material underneath.  You can feel it as you sew your wayback.  This leaves the ruching flat and hugs the rear end.  You decide how many to do but make sure you have a fold under pockets so it will hug rear.  In pic I sewed the top of fold and am on my way back with the bottom.  Note:  When you go over seam, go back and forth a few times to secure thread and wear and you may need to adjust the foot so it goes up over center seam.  This is when it is important that you have a heavy needle or denim needle-or your thread may keep breaking (or the needle-oh no).


Pull the thread from to thread and cut close to the fabric-you don't want to keep taking project out of machine we are using quilting technique of continued stitch underneath.  Then re-position your next ruche and repeat until all are done.  I looked about where I started when finishing each one.


You can really see my stitches here, almost done!


Now turn over and cut the connected bobbin threads.


Cut the bottom of one of your legs where it is worn to your liking and pin inside your slit (if you wish) and make sure it is laying flat.  Place it however hi or low you feel comfortable wearing a skirt slit.


When cutting insert-cut more than you need up to crotch area.


Now pin inside and make sure you pin all of it or you may sew over something you don't want to.


Now sew with straight stitch along seam on inside then sew across bottom to the outer seam and sew your way back.  Double seaming will assure it lays flat.


Sewing back around.


Remove all pins and turn inside out.  Front should look like this.


Now cut as close as you can without cutting through stitch and trim all excess material.


Congrats!  Now wash and dry it a couple times to get the fraying and for the garment to adjust to its new state.  This skirt can be done many ways.  I will post the "Mermaid" version with side ruching/lacing and inserted ruffles tomorrow.  Please comment and enjoy!  I did not get to no sew shrug.  Will be up later tonight or tomorrow morning! Take care<3